(Or my final entry about BuJo) at least for a while. I’ve been using the journal for the better part of a month now, and I think it’s working for me. I’ll walk you through some layouts.
Title Page
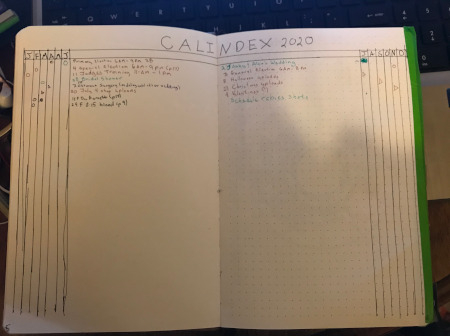
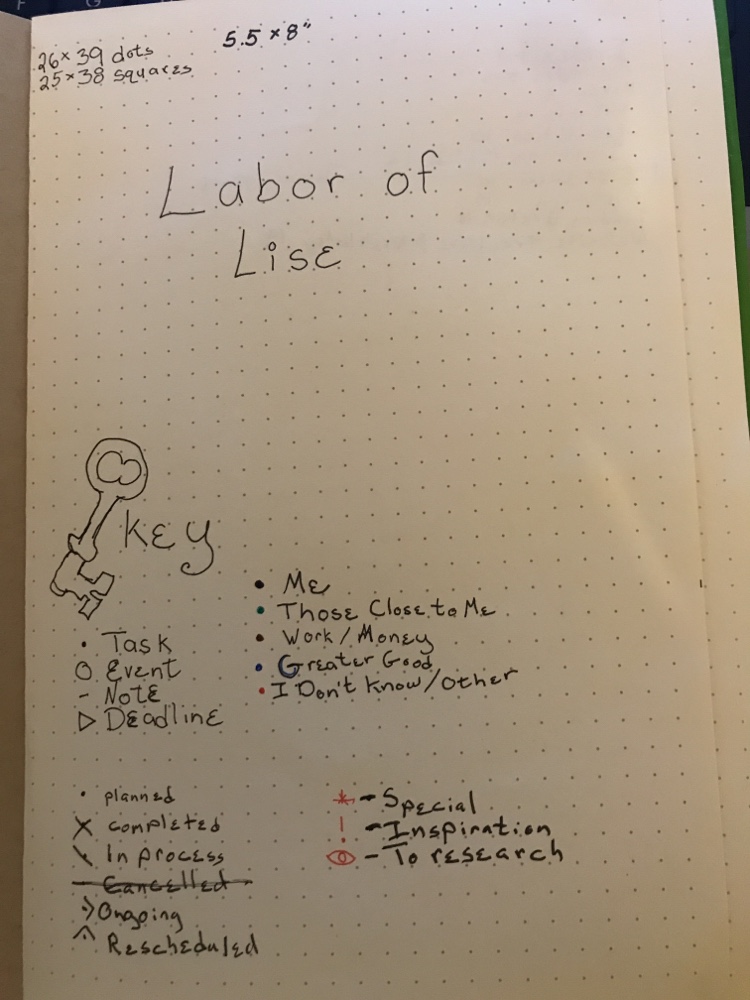
This is my title page. I combined a lot of elements here.
As you can see, I opted not to go the minimalist route. This combines the title page, a statement requesting privacy, and the journal key (with a found key). I also included the dot count.
Contents and Indices
I’m using both the standard index, and the forward planning hybrid Calendex.
This version allows me to chart a years worth of plans, and refer to the page numbers where more information is stored. I like it!
Blocks of Time
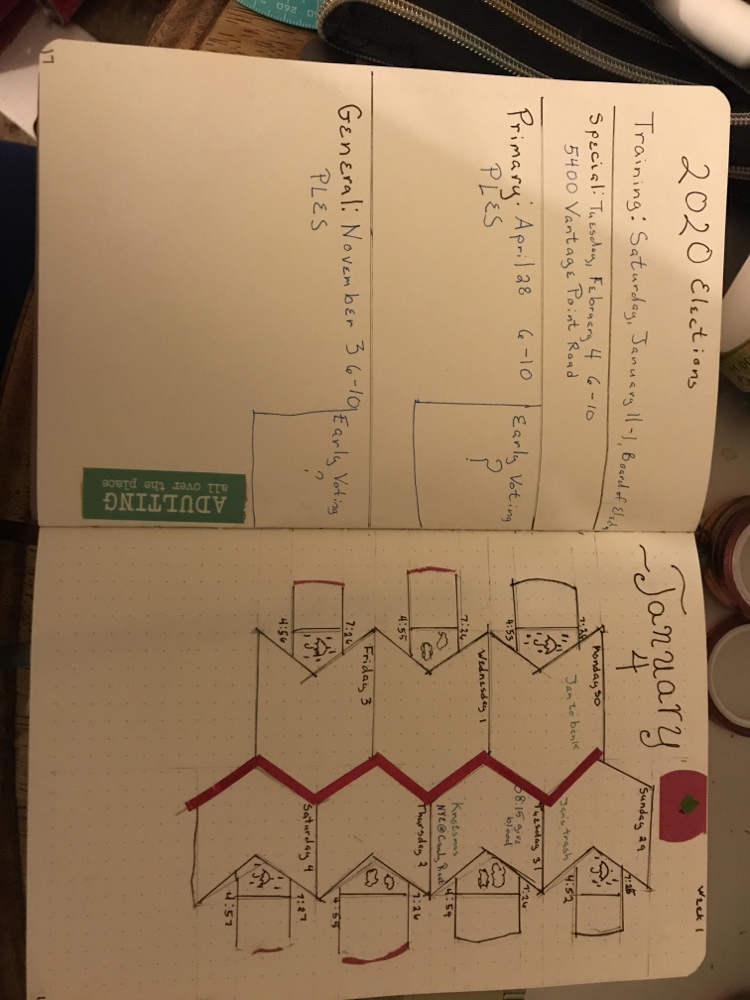
Months
Not doing anything too interesting for my monthly (at least for January):
Since the dotted pages are right hand only, the left hand page is for tasks and deadlines which aren’t date specific.
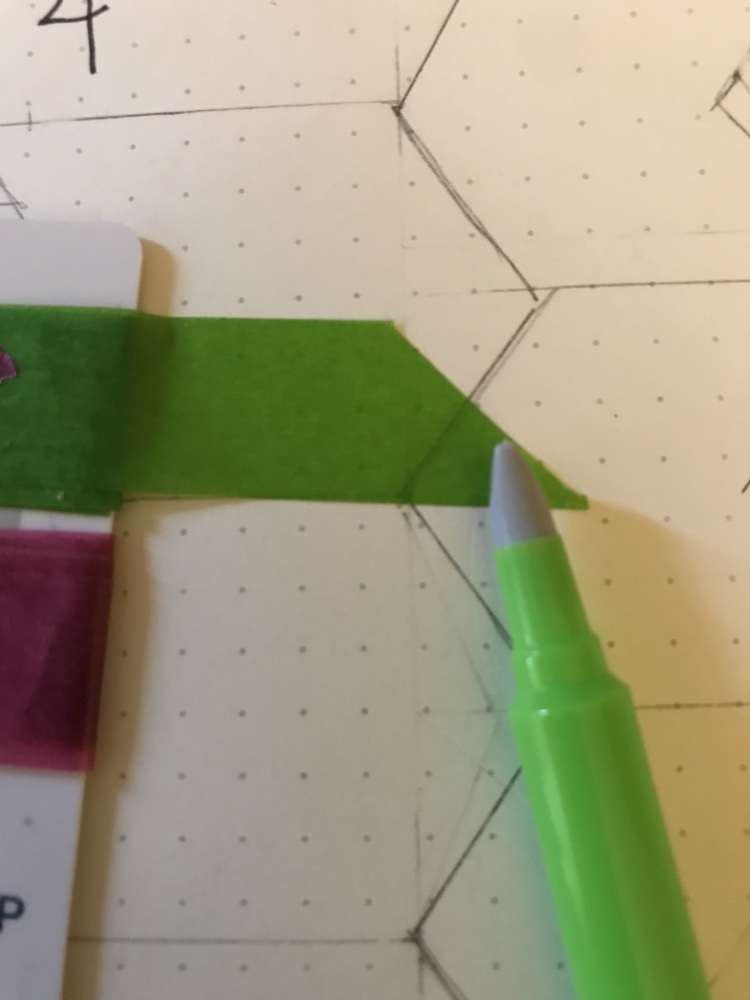
Weeks
I was really inspired by Keri on Instragram’s Weekly Spread. Mine is neither as beautiful nor as elaborate, but it’s been fun to take it and make it my own, and it’s been morphing week by week. Notice the use of washi tape and highlighters to add color.
I’ll probably look for another spread for weeks in February (but maybe not).
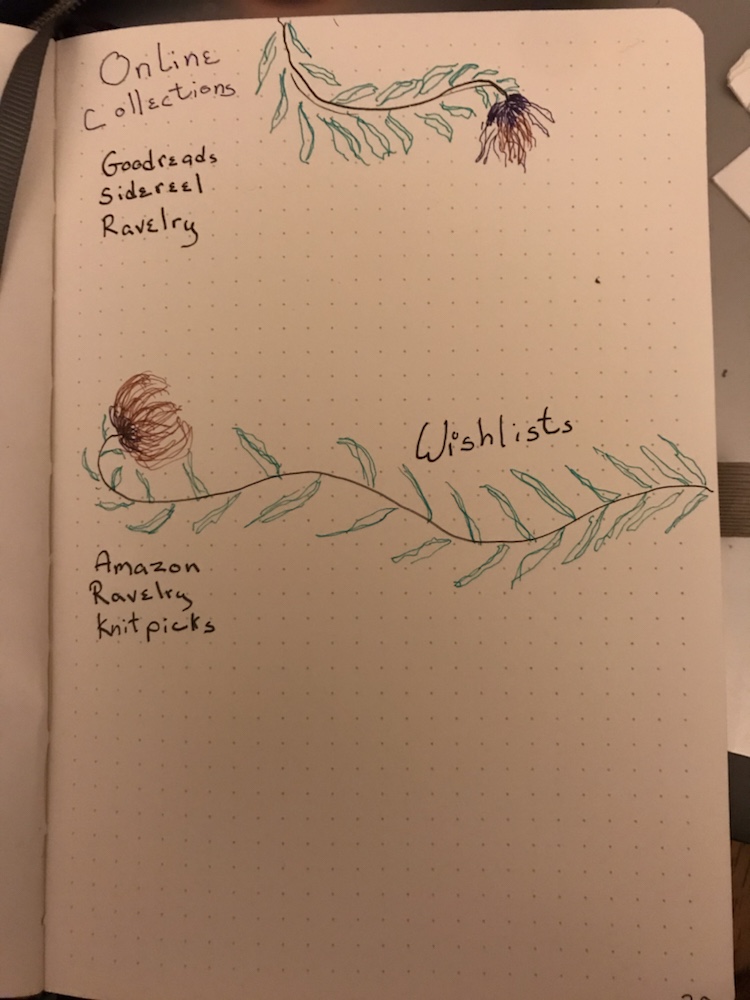
Collections
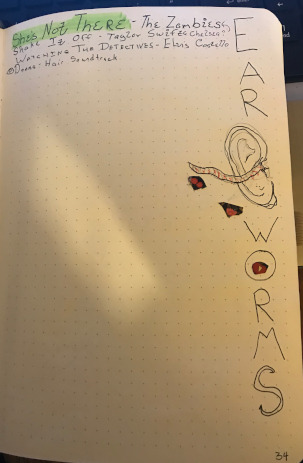
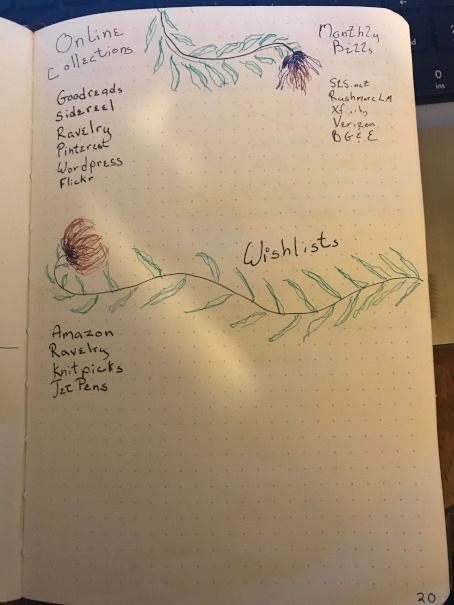
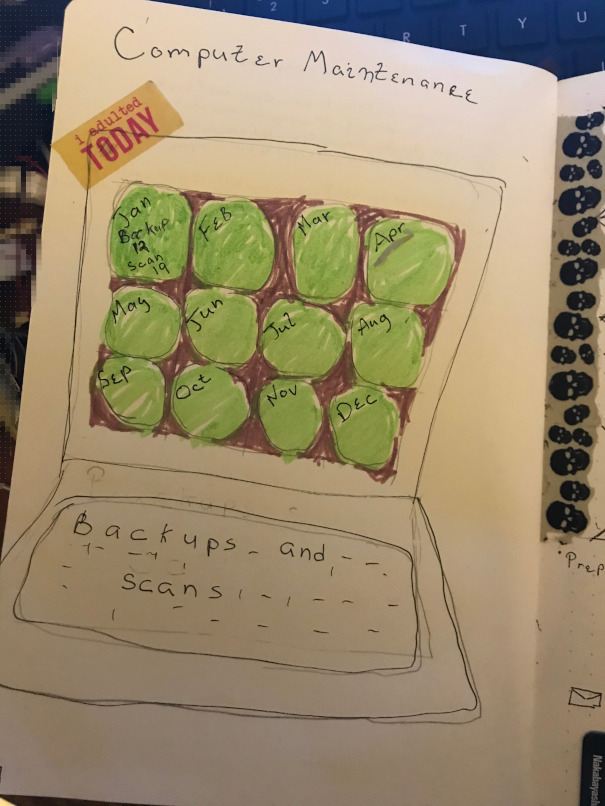
Other than that, it’s been a lot of fun coming up with collections. Some are ‘wall of text’ style things – classical journal entries and dream journal entries. Others are colorful and fun.
So there it is. In the first few weeks of using the journal I’ve filled a little less than a quarter of the book. I don’t expect it to keep up this pace. We’ll see how it goes.
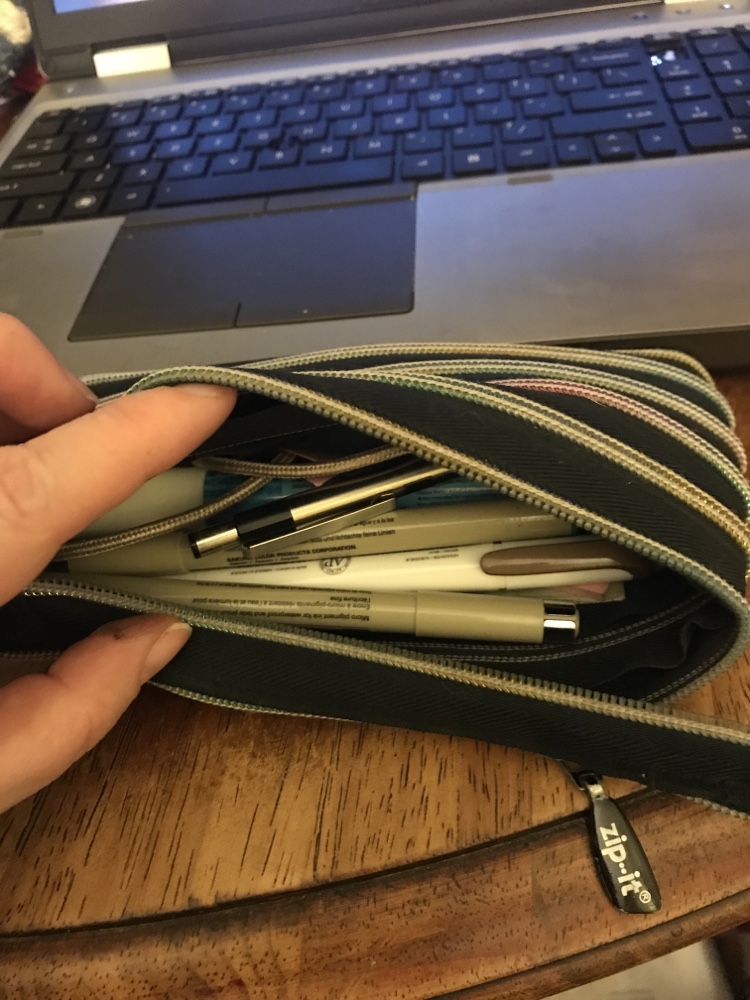
About as basic as you can get. If you’re carrying around a bunch of pens, you want a pouch to put them in. This is one which one of the kids got in high school, and left here when she went to college. I’ve always liked it, so I snagged it.
Pros
It does the right thing, holds plenty of pens and stuff, and I like the way it looks. The super long zipper is a cool touch.
Cons
It’s too big to comfortably fit in the elastic band on the journal.
Journal Band
This is basically a big elastic band with a pen pocket built in. It’s got a buckle so that you can adjust it. Steve got it for Christmas, and I snagged it.
Pros
It does the right thing.
Mechanical Pencil
As I said in the post on the compass, it’s not a great idea to use the pens directly with that. Also, I don’t know about you guys, but I often mess up when I’m drawing, and I don’t always need a permanent record of that. So a pencil is just generally a good idea.
I don’t have a pencil specifically for my journal (but, you know, that’s not a bad idea – there’s a Zebra lying around somewhere…) so I use the one from my EDC. It’s a Uni Fit Meister 3 Color Multipen from Jetpens (of course).
Pros
This is by far the best multipen I’ve ever had. I got to choose my own components, they stay in place when locked in, and don’t come out accidentally.
Cons
I’m already carting around a pencil case, it seems silly to dig around for my EDC pouch for the pencil. Zebra it is.
Pencutter
This is basically a teeny-weenie blade mounted on a pen body. It’s an Ohto Pen-Style Ceramic Cutter, and I got it from JetPens.
Pros
This thing is pretty amazing. It cuts through washi tape or a single layer of paper and that’s it! It handles like a pen. Even though it’s sharp enough to cut cleanly, I’ve yet to cut myself, or even scratch myself.
Cons
Maybe it’s conspicuous consumption, but it’s awesome.
Glue Pen
I wanted to be able to put souvenirs in the journal, so I picked this one up from (you guessed it) Jetpens. It’s the Kuratake Zig 2 Way Glue Pen, and it looks like a marker. You write the glue on your paper. If you attach the paper to the journal while it’s still wet (blue) it’s just like a regular glue stick. If you wait until it’s dry (clear) you’ve just turned your paper into a sticky note. Pretty cool idea.
Pros
It works just like it’s designed to.
Cons
It’s really fancier than I need. Maybe I should have just gotten a glue stick, but it’s not really expensive, and I enjoy the flexibility.
Hinge Stickers
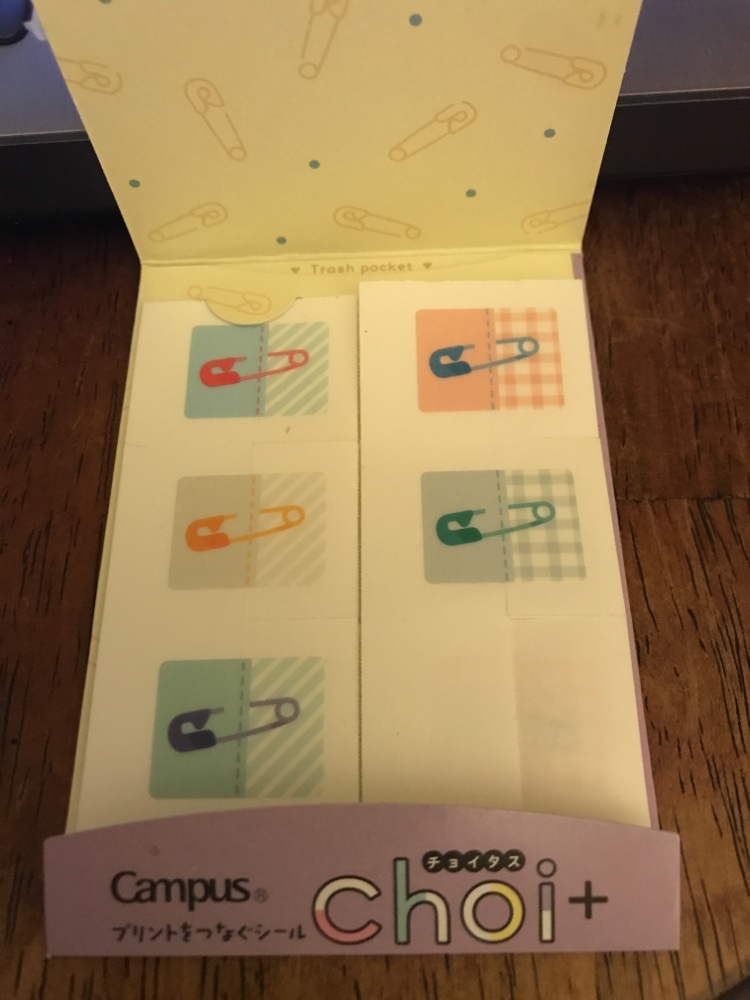
And speaking of treating my Bujo like a scrap book, I put these in a JetPens order to bring the total up to $25 for free shipping. It’s a pack of Kokuyo Choi+ Sheet Connecting Stickers.
Pros
These do exactly what they’re supposed to. You remove the sticker from the pack, and it is half-backed. You attach it to the journal where you want, then take the backing off and you have a little sticker hinge. Very cute.
Cons
Sure, it works. But it’s nothing I couldn’t have done with washi tape. Nice, but not necessary.
Wahsi Cards
I’ve been using various old plastic cards to wrap washi tape around. So I’ve decided to see if I can pretty them up a bit.
According to Wikipedia this is the Kanji for “Washi”
So I used nail polish. I transfered some of my washi tape to this baby and caried it around in the envelope of the back of my journal, like the other ones. A week later I peeled off the washi tape easily, with no polish marring the back of the cards. I think it’s a good thing. 🙂
I wasn’t originally sure I wanted to invest in washi tape. It seems like a luxury item (to be honest, I felt the Helix was sort of a splurge), and I knew I could always just print out stickers with materials I already have on hand, but I found some in my existing tape collection, and was gifted another roll from a friend, so I decided it add it to the kit.
Then I realized that I had a roll I had bought to use with my planner at work, surely three rolls would be enough to start with, right? Out of curiousty, I visited my local JoAnn’s and saw what they had on sale, and some of the tapes just called my name. I’m pathetic, I mean, who would have thought that colored masking tape could spark joy…
Unfortunately, carrying around five rolls of thick washi tape, and four of thin would be a bit much. I looked around online and found some cute carriers to bring small amounts of tape with you. Then I realized I had an old ID badge from a long term temp assignment which would just about do the job. So I have reasonable amounts of 5 colors of wide tape tucked into the pocket at the back of my journal, and 4 rolls of narrow tape in the pencil pouch.
Scotch/3M Washi Tape
The green and red tapes are both this. I had the green roll, sealed in it’s original packaging, for a couple of years at least, and the red I used the same day I bought it. The green has sort of stuck to itself over time, so when I unrolled the tape the part revealed underneath was covered in adhesive. It wipes off easily enough and doesn’t seem to have a bad affect on stickiness.
The tape seems pretty fragile, and tears while unrolling long pieces. You really want to ‘turn down’ the edge on the roll, otherwise starting a clean piece for next time will be tricky.
Pros
It’s easy to find if you aren’t near craft stores. This is what you’re most likely to find in office supply stores and maybe even grocery stores. May be a little bit less expensive.
Cons
It’s pretty fragile coming off the roll. Not a lot of designs, and those I saw seem pretty basic.
Park Lane
These are the rolls I found on sale at JoAnne’s. A bit pricier than the 3M, but I do love the patterns. I don’t expect to be rolling out the wide tape to cover large areas, but I didn’t have as much difficulty starting the roll, and I’d suggest cutting rather than tearing. The thin tape is certainly stronger than the 3M, but that might be because it is so narrow.
Pros
Eye catching, adorable designs. Not too fragile.
Cons
A little pricier.
Tape Works
This is the one gifted to me. It is a Sandylion product, and you can see all their designs at Trends International. They have some pretty fun licences, but the website is not that well indexed. I had the most luck by putting terms in the search bar then choosing ‘paper crafts’ as an option. There are plenty of designs to choose from, but what I saw didn’t feel as quirky as the Park Lane rolls.
Pros
Lots of designs, not too fragile. Have lots of big name licenses.
Cons
Maybe a little pricier. Fewer quirky designs.
In Conclusion
Those are the ones I have. I know there are a lot more brands out there, but I haven’t tried them yet. I’m getting an MT design (planets), and one with black cats, and one which is specifically designed for bullet journals – dates, time, to do’s, which supposedly takes regular ink.
Steve is beginning to think I may have a washi tape problem, but I keep telling him, I can stop whenever I want…
Today I will observe a biennial ritual. I will take an oath to defend the constitution (well, sign it, not speak it aloud), and take instruction in how to be an election judge.
I’ve always felt it’s important. This year, perhaps, it’s more important than ever before.
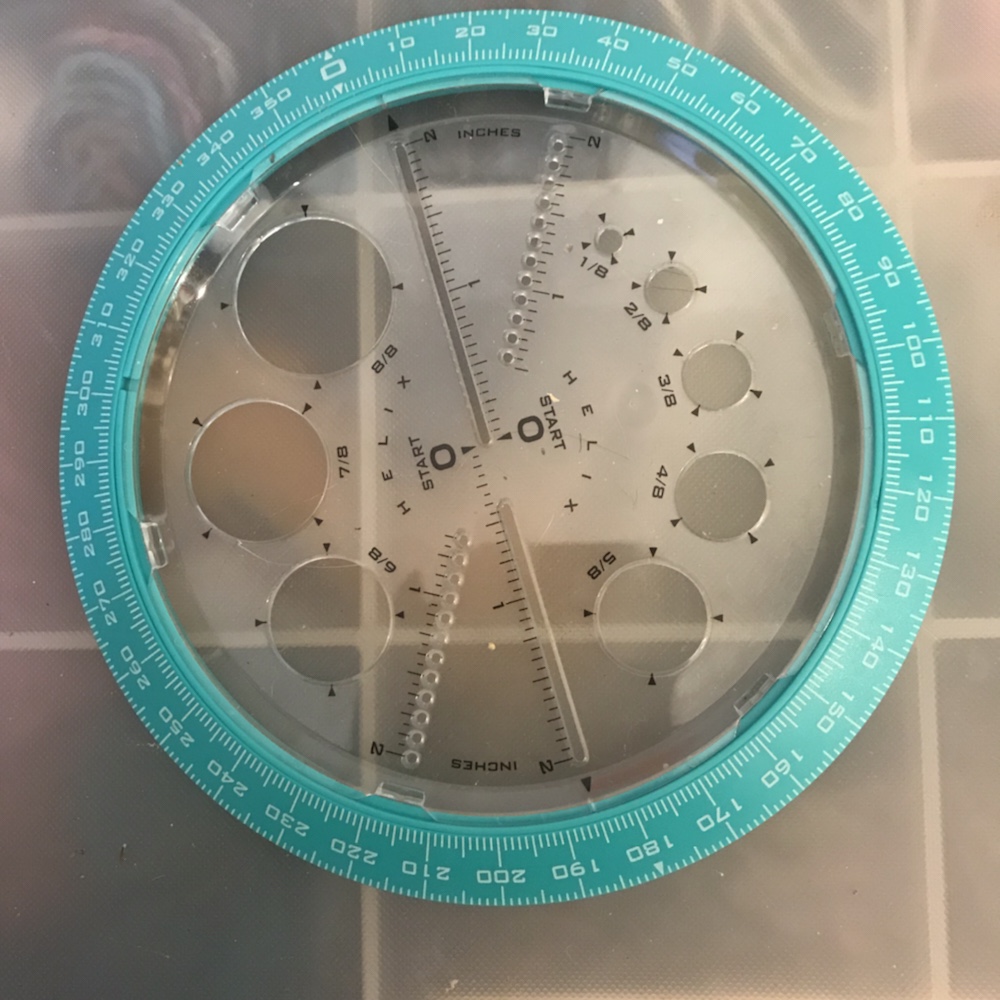
I mentioned in my first Bullet Journal post that I had ordered a combined compass/protractor rather than an expensive template or a standard compass and protractor. It’s the Helix Angle and Circle Maker (note: not an affiliate link, just my source).
My reasons for this choice:
I really loved some of the circle based layouts I found on Pinterest
The stencils seemed both really specific and expensive
I don’t want to start by gluing a lot of printouts into my journal
A standard compass would leave holes in the journal
The other non pointy compass alternative I found had lousy reviews, it turns out it was a knock off of an engineering grade tool, which was super cool but way too pricey.
The reviews on the Helix are moderately positive. They say that it’s a good tool for the price, but that the ends of the circles may not meet up exactly. I decided that was acceptable.
Pros
Cost – this was under $5. Stencils were easily 2 to 4 times that.
No holes
Cons
Known not to make perfect circles
Plastic, negative environmental impact
Made in China, so probably exploitative of labor, uncertain environmental practices and issues with shipping.
Purchased through Amazon, so not labor friendly
Interaction with other journal materials
It’s too big to fit in the journal pocket, but not too big to carry fold into the journal.
As you can see, it just sticks out from the right hand side of the journal. I’m fine with that, but it’s something to be aware of.
As I mentioned before, this doesn’t work and play well with fine line pens. Use with a pencil!
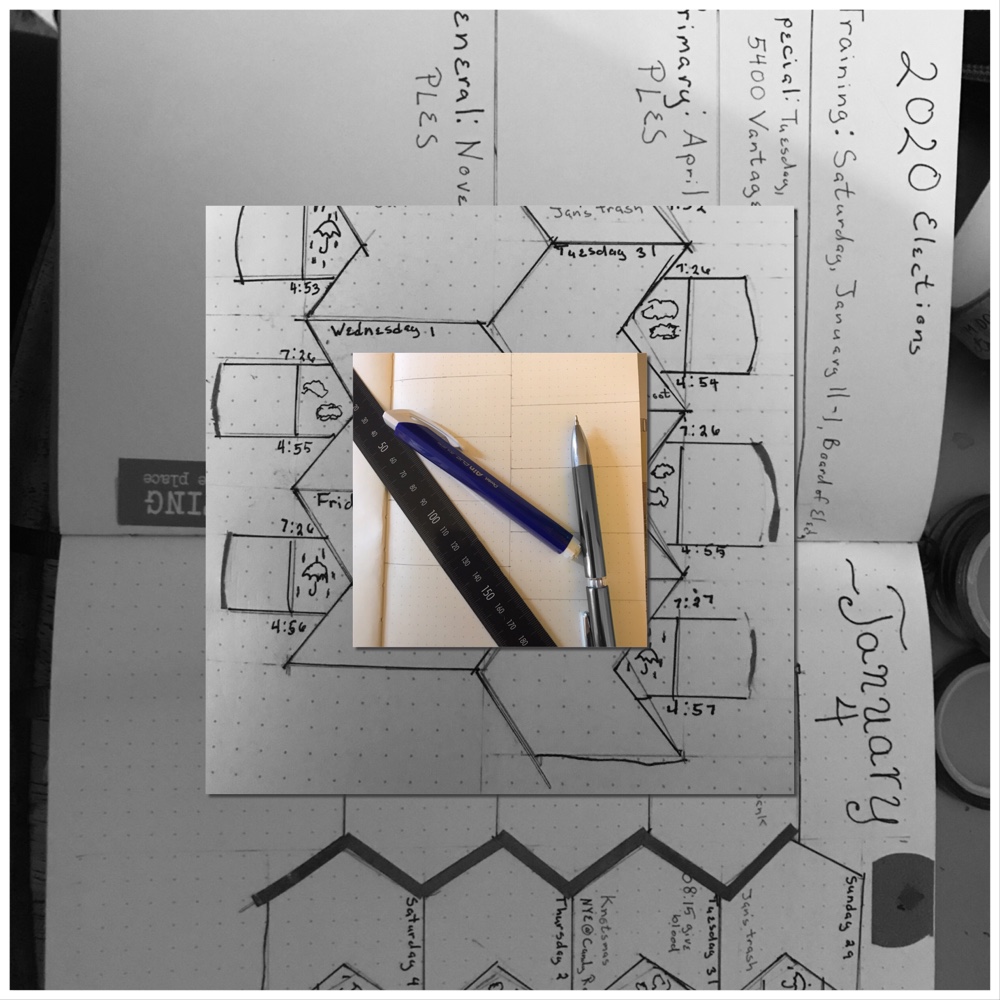
Another great JetPens find. A ruler (even a straight edge) is not strictly necessary, especially if your journal has lines/grid/dots, but it really does make things simpler. This one is a really thin magnet as well, so it serves as an extra bookmark.
Pros
Lightweight, easy to transport (as a bookmark or in the pocket) and it’s metric all the way!
Cons
It’s metric all the way. I like having choices, and like having the metric/english option right there on hand (25.4 mm/inch, in case you forget).
Interactions with other Journal Supplies
Like the Helix, it’s probably best to use a pencil first, but I think it’s less likely to damage the pens. It’s super thin and magnetic, so it makes an excellent bookmark as well.
The only things you need to journal are a journal and something to write with. Today, I’m talking about the “something to write with”.
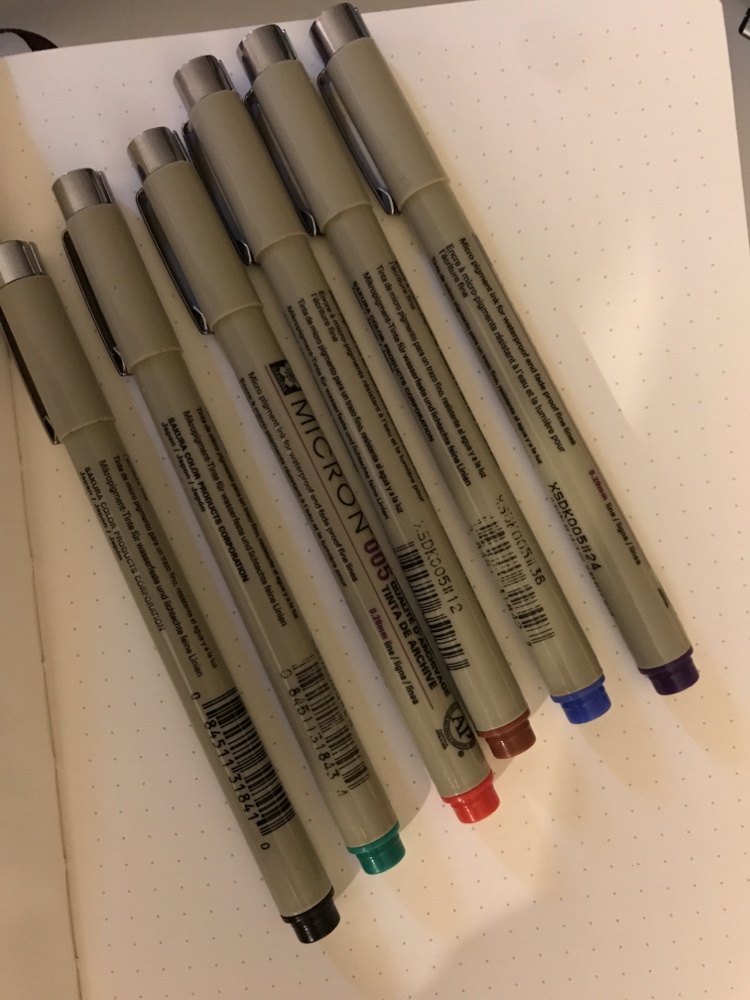
I knew I wanted to work with colors from the beginning. In thinking about my journal I knew I wanted at least 4 colors (for categories) plus black. I combed through the fineliner reviews at JetPens and decided that the Sakura Pigma Micron would fit best with my style. This particular 6 color set seemed to be the best fit, with very distinct colors.
Pros
The lines are very fine, and the writing is smooth. I’m not noticing any smearing or bleeding. I like the way they feel in my hand.
Cons
I find it really difficult to tell the black from the purple, but I think that has as much to do with my cataracts as the pens themselves.
Interactions with other journal supplies
I should have known this going in, but it’s a BAD idea to use a pen directly for page layout. Not only does it lead to lines where I don’t want them, it also warps the tips of the pens.
As it happens, I have a multipen in my EDC with a mechanical pencil. I also have a retractable eraser. So I didn’t need to get any additional equipment to solve the problem. But if you’re planning complex spreads with other tools (like anything more complicated than a ruler) I suggest using a pencil for your layouts.
I’ll post pictures of how it’s working on New Years Day, and continue with the supplies series after that.
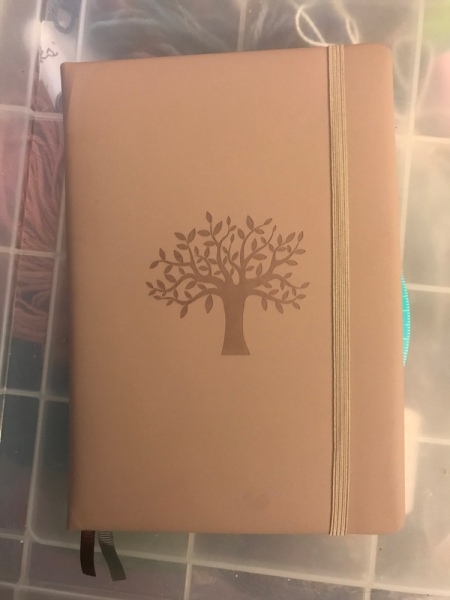
I said I’d review the bullet journal supplies as I started to use them. I’m starting with the journal itself.
First of all, this is exactly the one I asked for. I chose it because it’s absolutely beautiful, and I really liked the tree iconography on the cover.
Pros
Holding it in my hands makes me happy. It’s just heavy enough to feel substantial, and the padded cover should protect the book very well, assuming it holds up to wear and tear. It comes with an elastic closure and two ribbon markers, so it won’t be flopping open and it will be easy to keep my place. It also has a built in pocket and a pen loop.
Cons
This isn’t necessarily a negative, but I didn’t realize until I had the actual book that it it both dotted and plain paper. This is going to affect my layouts at least a bit. It’s going to be great for doodles and some trackers, but it will make some of the layouts I want to do a little bit harder. Nothing I can’t work with. I might grow to really love it, but it’s not what I was envisioning.
The cover also pouches out a LOT when it’s open. This is going to make it hard for the journal to lay flat. It might make it difficult to create some of those lovely trackers I want to put on the plain pages.
I think I can make it work, but I really don’t expect to grow to love this feature.
That’s it. I don’t think I can go further without delving into
I’m sure you can see where this is going. I’m about to start…..
A BULLET JOURNAL
So, technically, the only other thing I need to get started is a pen, but there’s just too much cool stuff out there not to want to play. (FYI: no partner sites, just links to places which have cool seeming merch) I ordered a bunch of things from Jet Pens, and one from Amazon. I will write reviews of things as they come in (should be in early January) and I start to use them. For now I’ll just give you a brief list. I ordered:
Pens (a set of 6) because I want categories
General writing
Self
People I care about
Money
Greater good
I don’t know and/or Other
A combination protractor and circle guide
I know I don’t need all the fancy stencils
Those circular layouts look really fun
A compass/protractor would be nice, but I don’t want to put a hole in my notebook
Magcon seems really neat, but is really expensive, and I’m not interested in the knock offs.
A fancy glue pen
A circular cutter
Sticker hinges
A folding ruler
I will probably also pick up some Washi tape at my local stationery store as well. I’d love to hear from those of you who already BuJo (…Wolf… Kay… anyone else) who have tips about what does or doesn’t work for you.
Check back in a few weeks and see if I actually get started with this, and how all my goodies work out!
Well, the paycheck doesn’t quite cover what we need it to. Steve is working on bringing in more business between the two companies but it’s going to be tight for a bit.
Other than that, things are going well. There’s a steep learning curve, between product and software, and we’re going to be changing some of the systems (as in next week) so it’s kind of crazy.
Having said that… It’s within walking distance of the house. At first I had planned just to take the road by the high school, and I will still probably do that in bad weather, but just about every day I’ve been taking the scenic route…
This slideshow requires JavaScript.
I haven’t managed to get pictures of the butterflies and birds (there’s a family of black headed vultures which is fascinating to watch) but it’s just been cool so far.